How to Make Embed Soap
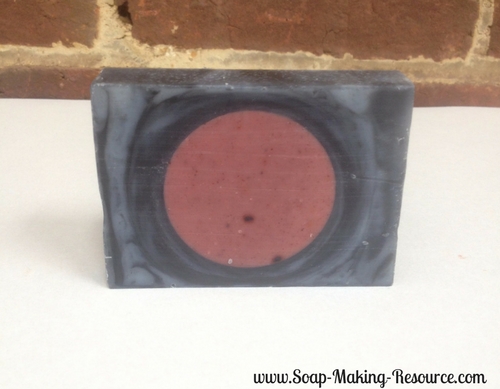
Today we are going to show you how to make embed soap. Below is a picture of our finished product:
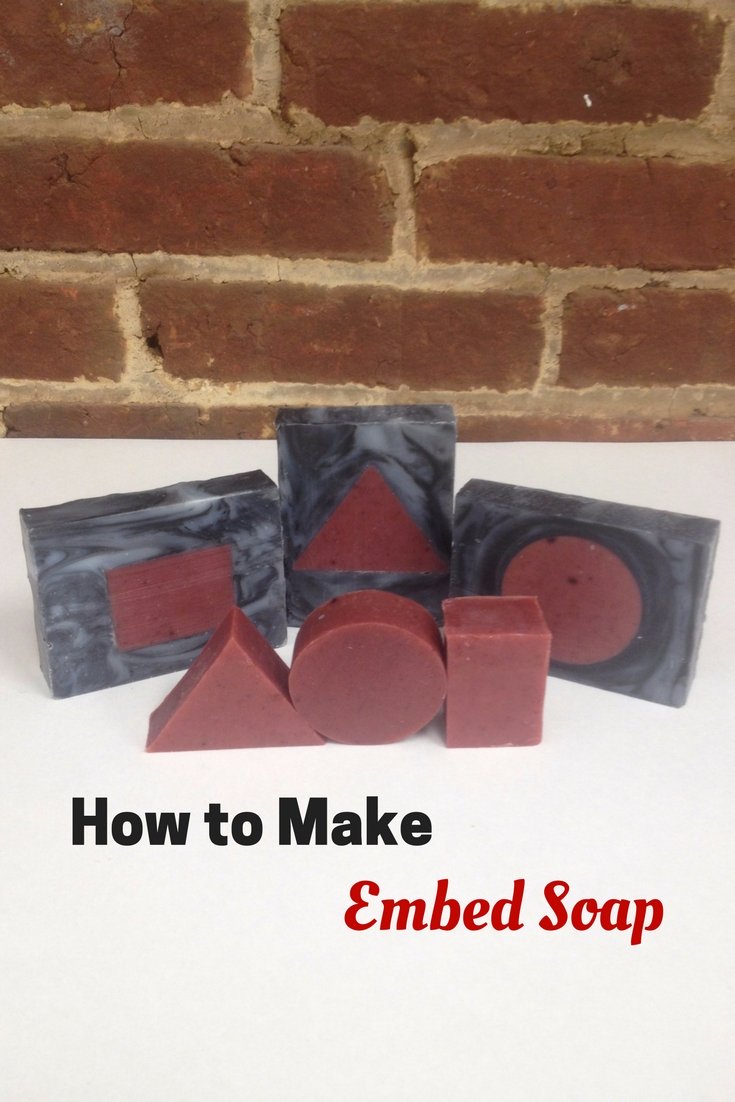
Sometimes you make a batch of soap and it just doesn't work out. It really is a shame to have to throw away all your oils, colorants, and essential oils that went into your batch. Not to mention, you spent all that hard work and time just to have your hopes dashed. We have all been there and it can be quite discouraging.
There is, however, a way to salvage that soap and reuse it to make a beautiful finished product. Today I am going to show you how to make embed soap by recycling a previously botched batch. This is a perfect way to turn an ugly soap into a bar that you will want to showcase.
To start our embed soap project, we used a batch of soap that didn't turn out as planned.
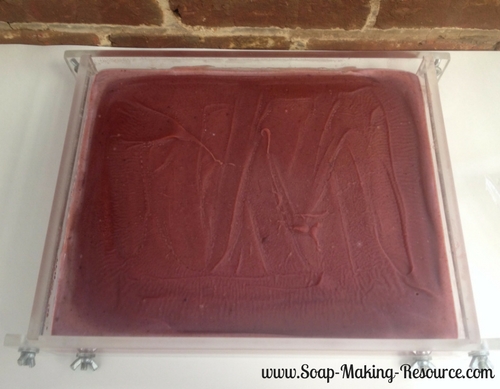
In the picture above, you can see the partial gelling on the edges of our batch and there seems to be varying shades of red due to the improper mixture of our madder root into this batch. Ooops! The fix is easy though! We are simply going to use our cookie cutter and cut around any parts that look unappealing.
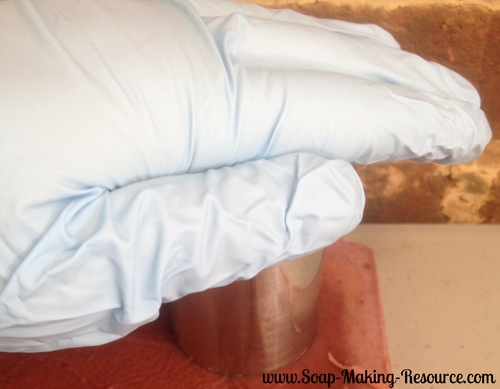
Many cookie cutters are not tall enough to cut through most soap batches. You need to find a cookie cutter that is tall enough to cut all the way through the soap. We've found that petit four cutters make great soap embed cutters because they are taller than your standard cookie cutter. If you are using our slab molds you need a cutter that is at least 1.5 inches tall. This should give you a little extra room so that you can grab the cookie cutter and pull it up and out of the soap.
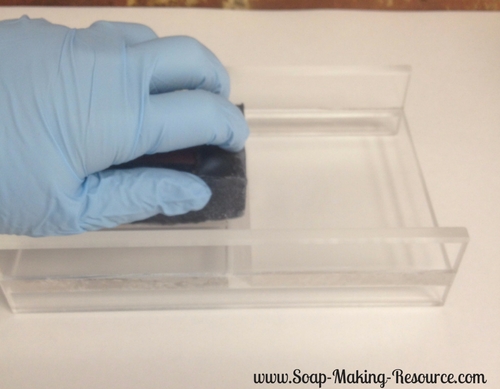
Now that we created our embed you may want to clean it up a bit. The soap we cut out has an uneven top so we decided to smooth it out with one of SMR's acrylic soap bevelers/planers.
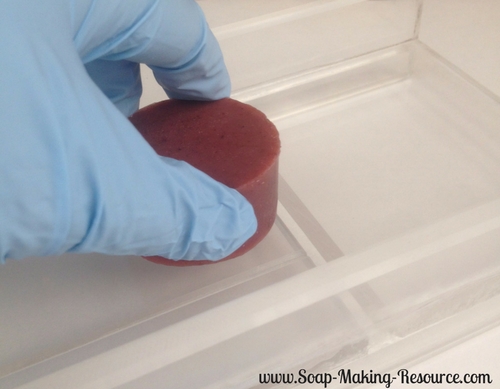
Our embeds look great and they are ready to be added to our batch!
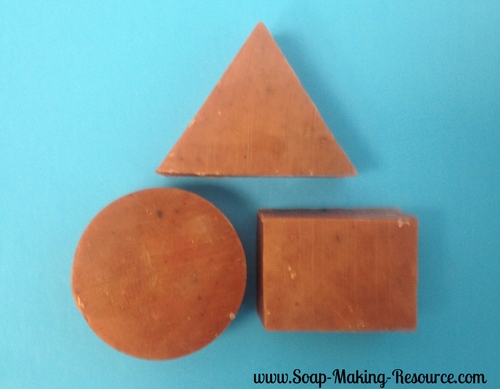
Before you make your main batch of soap you will notice that the embeds will take up a relatively large amount of space within your mold. We are using the SMR 5 pound acrylic slab soap mold which is made to contain 5 pounds of soap with just a small amount of additional space at the top of the mold. Once your embeds are integrated into your batch, you may not be able to fit another 5 full pounds of soap into your mold since the embeds are taking up so much space. If you end up being able to fit the full batch of soap into your mold, your bars will be very thick as your mold will be filled up to the brim!
|
Sign Up Today!
*Your information is SAFE with us! |
Since all embeds come in different shapes and sizes it is impossible to give you a formula that fits every single recipe. One method, however, for figuring out how large your main soap batch should be is to weigh out all the embeds that you intend to use and then subtract that weight from your main soap recipe. This will give you a fairly good estimate of how much soap to make for your main soap batch.
For example: if you are going to embed 15 soap shapes and those 15 embeds weigh 1.5 pounds total, simply resize your batch from a 5 pound batch to a 3.5 pound batch.
Alternatively, if you are ok with producing some excess soap, you can pour about 1/3 of your full 5 pound batch into the mold and then place the embeds into this soap portion. You can then pour the rest of your batch around the embeds. After your soap hardens and is removed from the mold, simply use SMR's soap beveler to shave off any soap that ends up covering up the embed. If you pour the entire main soap batch on top of the embeds, you can use the SMR soap beveler to plane your soap down until the embedded soap shape is revealed.
Regardless of the size of your main soap batch, when you are ready to insert your embeds, first pour your main soap batch into the mold. Remember, if you resized your batch to compensate for the embed soap, you can pour the entire batch of soap into the mold, but if you made a full 5 pound batch of soap, initially only pour about 1/3 of your batch into the mold.
Next, place your slab mold divider set into the SMR 5 pound acrylic slab soap mold. These unique divider sets will show you exactly where the center of each bar is, allowing you to place the embed perfectly into the middle of each bar. Very cool! This is a huge benefit of the SMR acrylic slab soap mold.
Now place your embed into the soap.
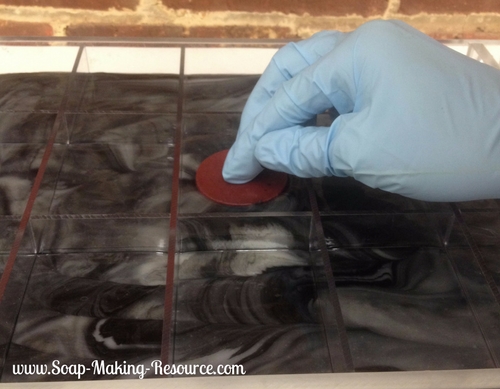
Once the soap has fully solidified, remove your bars from the mold. As you can see in the picture below, we poured a little too much soap into the mold causing the soap to rise up slightly above the embed.
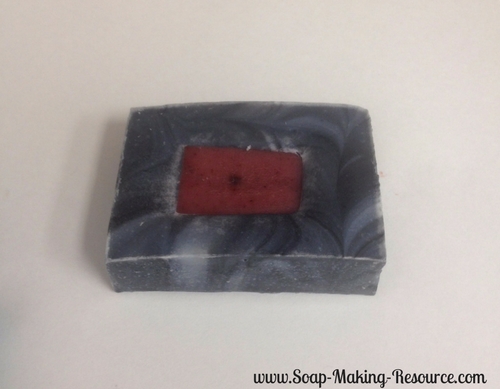
This is a very cool effect if it was intended...but it wasn't, so to remedy this problem we simply used the SMR soap beveler/planer to shave down the excess soap so that we can see the full embed.
This fun design technique really adds a nice pretty touch to our handmade soap bars and it prevented us from having to toss our botched batch! Take a look at our finished product below. Isn't it beautiful?
More Information about how to make Embed Soap
Below is some more information, additional tips and some recap for making embed soap. We hope it helps you!
- SMR's slab mold is the perfect mold to use for this embed soap design technique because the divider set will show you exactly where the center of each bar is.
- Make sure your cookie cutters are not too big to fit inside each individual soap bar. Be sure to do this before you create your embeds. A simple solution is to place the cookie cutter inside the slab mold dividers to make sure they fit properly.
- "Petit four cutters" are perfect for creating soap embeds. They are taller than your standard cookie cutter.
- You can create new shapes by cutting your embeds in half. Turn your diamonds into triangles and circles into half-circles!
- If you have any left over soap due to the embeds taking up more space than anticipated, simply pour that extra soap into a separate mold and save the finished product for another project. You can "rebatch" this soap to make some more soap bars or cut it up into pieces and add it to another soap batch that has a contrasting color. This is a great way to beautifully decorate a future soap!
- After you extract as many embeds as you can from your botched batch of soap you don't have to throw the rest of the soap away. You can always rebatch the remaining soap or save this soap portion for later decorative use.
- Try creating embeds with your soap that has lost its scent. This is a great way to recycle older soaps whose scent may have faded. We're all about recycling here!
Thank you for checking out this tutorial on how to make embed soap. We really appreciate it and we hope that it helps you. As always, if you have any questions or comments, please feel free to contact us. We are more than happy to help!
Don't forget to browse soap-making-resource.com for more great soap making tutorials and a large selection of high quality soap making supplies. You can buy the SMR no-line acrylic slab soap mold and madder root powder, (both of which were used within this tutorial!) right here at soap-making-resource.com.
Have fun making embed soap!
Return from how to make embed soap to the slab soap molds page.

