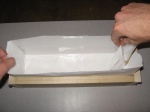
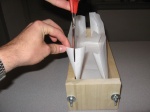
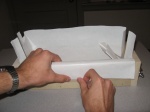
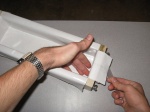
How to Line Wooden Soap Molds
Learning how to line a wooden soap mold is simple with this easy to follow step by step picture tutorial. All wooden soap making molds must be lined before pouring in your soap. If you don't complete this important step, it will be pretty much impossible to remove your finished product from the mold.
Keep in mind that lining your wood soap mold will take a few minutes (sometimes longer if you've never done it before), so I strongly recommend that you do this step before you start making your soap batch. Depending on your soap recipe, fragrances used and soap making method it can sometimes become urgent to pour your soap in order to keep it from solidifying in the pot. When you need to pour, the last thing you want is to have to still line the mold!
There are many different techniques out there for lining wooden soap molds. The following is the one that I personally use and, in my opinion, find to be the best method.
Free Soap Making e-Newsletter
Plus instantly receive one of my own personal soap recipe formulas using a combination of sweet almond oil, avocado oil, olive oil, coconut oil, palm oil, castor oil and shea butter scented with an intoxicating essential oil blend. This recipe is explained step by step in full detail. you're going to love it!
- Instantly receive one of my own soap recipe formulas.
- $5 Coupon off your first purchase of $30 or more!
- Access to more exclusive subscriber coupons.
- Future Soap making recipe tutorial announcements.
- How to make lotions, bath bombs and more!
- Interviews with successful soap makers.
- Contests with awesome prizes.
- Revealing soap making poll results.
- New product announcements, demos and reviews.
- Unbeatable Soap Making Resource Sales!
|
Sign Up Today!
*Your information is SAFE with us!
|
What you will need to line your soap mold...
Before you go any further, make sure that you have the tools and materials necessary. Here's what you will need:
Soap making mold (of course!)
Heavy duty freezer paper
Scissors
Scotch tape
Ruler
Got everything? Good... You're ready to move on!
Here's the step by step process for lining a wooden soap mold:
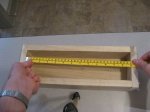
Step 1: Measure the length of the
inside of your soap mold. Make sure that you are 100% exact!
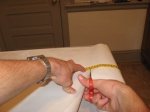
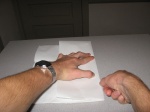
Step 2: Take out your heavy duty freezer paper and cut a piece that is the length of your mold plus another 10 inches. For example: my mold that I'm using for this tutorial has a 13 inch inside length, so I cut my piece of freezer paper so that it's 23 inches long... 13 inches (length of mold) + extra 10 inches = 23 inches total length for the freezer paper. From this point on remember to always keep the glossy side of the paper up.
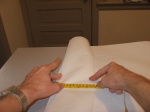
Step 3: Fold only the left side of the freezer paper so that the flap is 5 inches long.
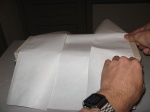
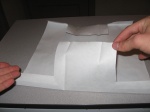
Step 4: Place the wax paper on top of your mold with the left folded side lined up with the left inside end of the soap mold. Now fold the right side so that the piece of wax paper fits lengthwise perfectly into your mold.
Step 5: Place the Paper into the mold. It should fit perfectly! Now cut the freezer paper to reduce its width so that it will fold over each long side by about 2 inches.
Step 6: With your fingers, crease the freezer paper at the bottom of the mold against the corners.
Step 7: Once you've made your initial creases, Take out the freezer paper and re-crease it even stronger.
Step 8: cut out small squares in each corner leaving about 1 inch of paper on each side. Your liner should look like this:
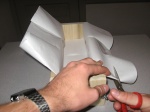
Step 9: Place the wax paper back into the mold and pull up the long tabs in the middle so that the wax paper takes on the wooden soap mold's form.
Step 10: Cut a sliver in the paper to the top of the mold at each corner. This will allow the wax paper to fold over the sides without tearing during the next steps.
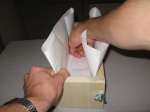
Step 11: Tape the wax paper in place on the long sides.
Step 12: Tape the wax paper in place on the short ends.
Step 13: Now all you have to do is Make sure that all the corners are well defined and that there's no loose wax paper within the mold.
You are now done lining your soap mold. Pretty simple, right? If it isn't easy yet, after a little bit of practice it will become almost second nature. Your soap log will easily pull out of your mold ready to cut! Now that you've lined your soap mold, go ahead and make soap! I hope that you can use this resource to answer all your soap making questions.
Return from how to line a soap mold to the wooden soap molds main page.
Return to the soap making resource home page.
